
 ストーキングNOW!!
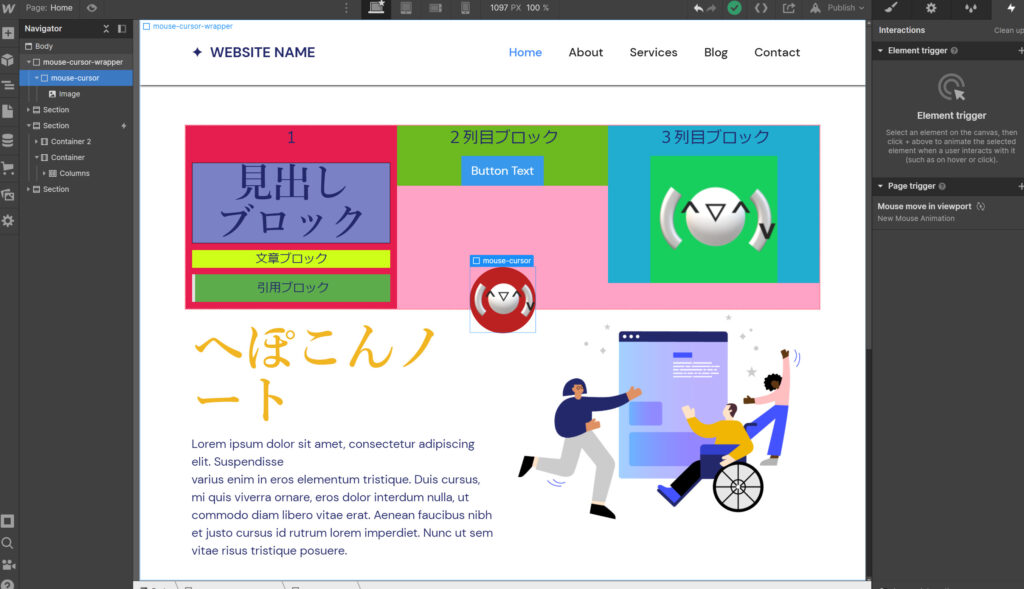
webflowでマウスストーカー(マウス追従)やってみみました。
ついでにこのページにも実装してます。(マウスストーカーはデスクトップでしかみれません!)
ちなみにこのページのコードは最後に記載してます。
webflowのノーコードで作るには次の章ように設定します。
※webflow未登録の場合はこちら。
webflowのマウスストーカー(マウス追従)
webflowのダッシュボードからスタートします。

まず、divブロック作ります。

divブロックはとりあえず上の方に適当に作ります。あとで位置を変えます。
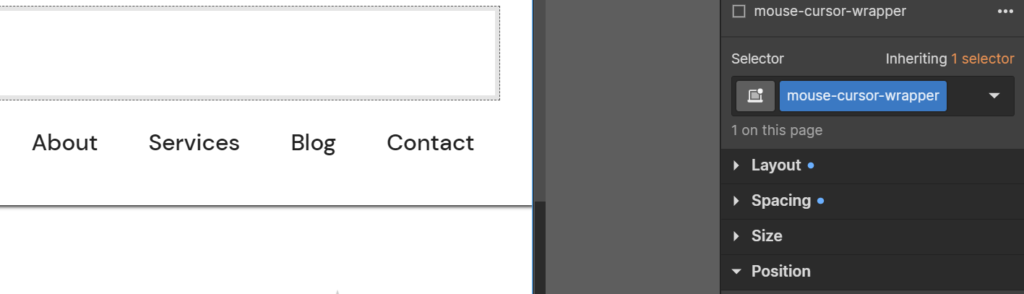
右のselectorにクラスを指定します。
なんでもいいですが、今回は「mouse-cursor-wrapper」にしました。
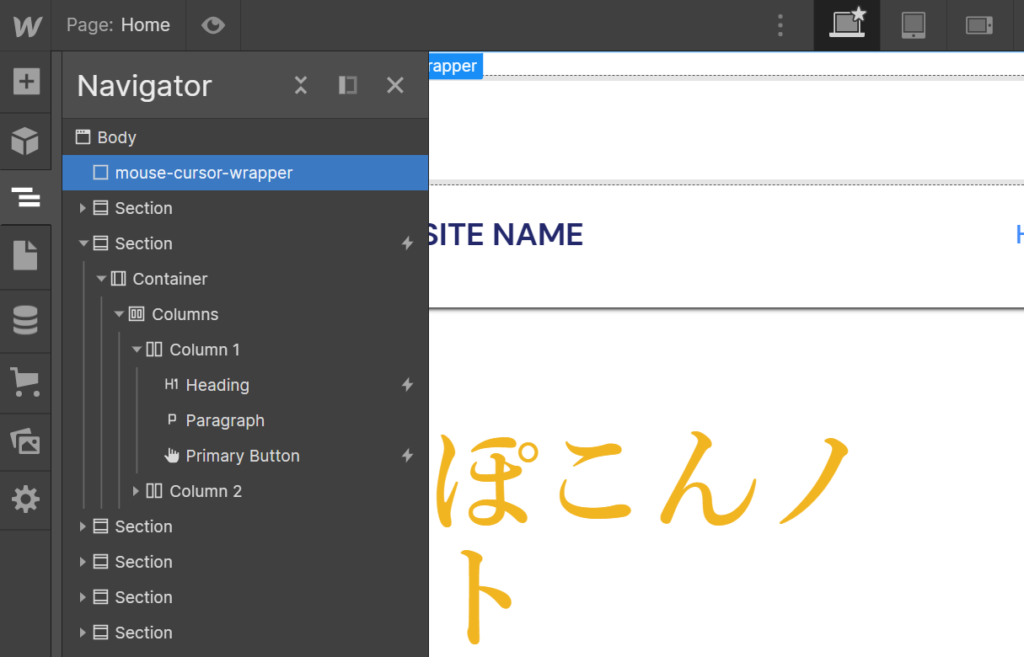
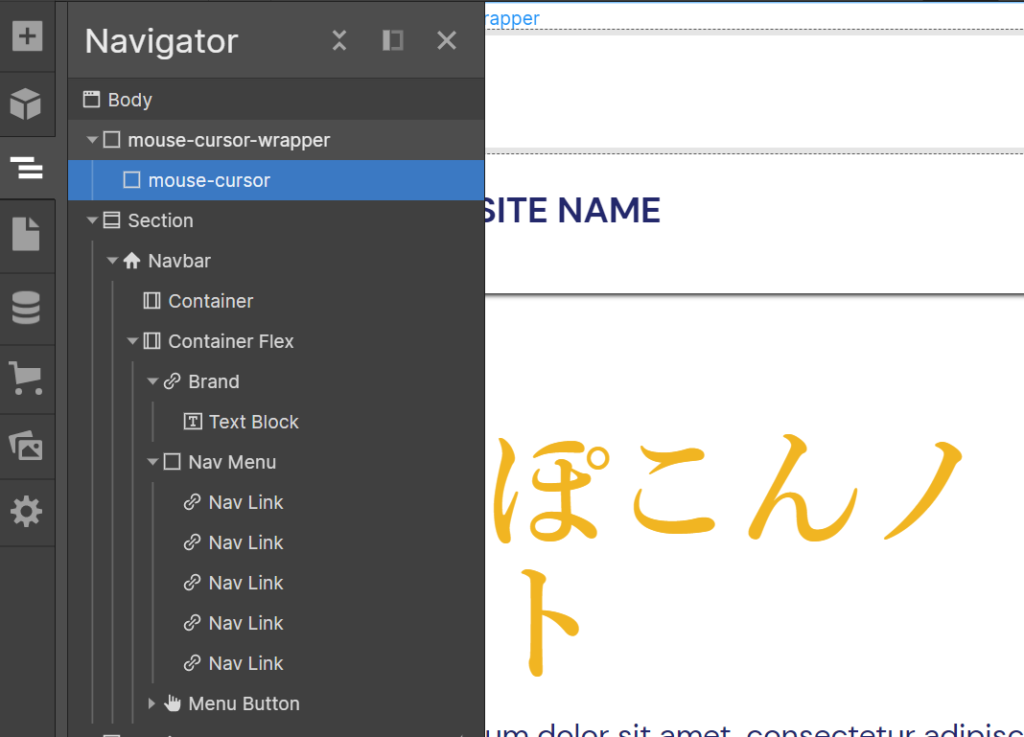
右のナビゲーターから mouse-cursor-wrapper をBodyタグの直下に移動します。
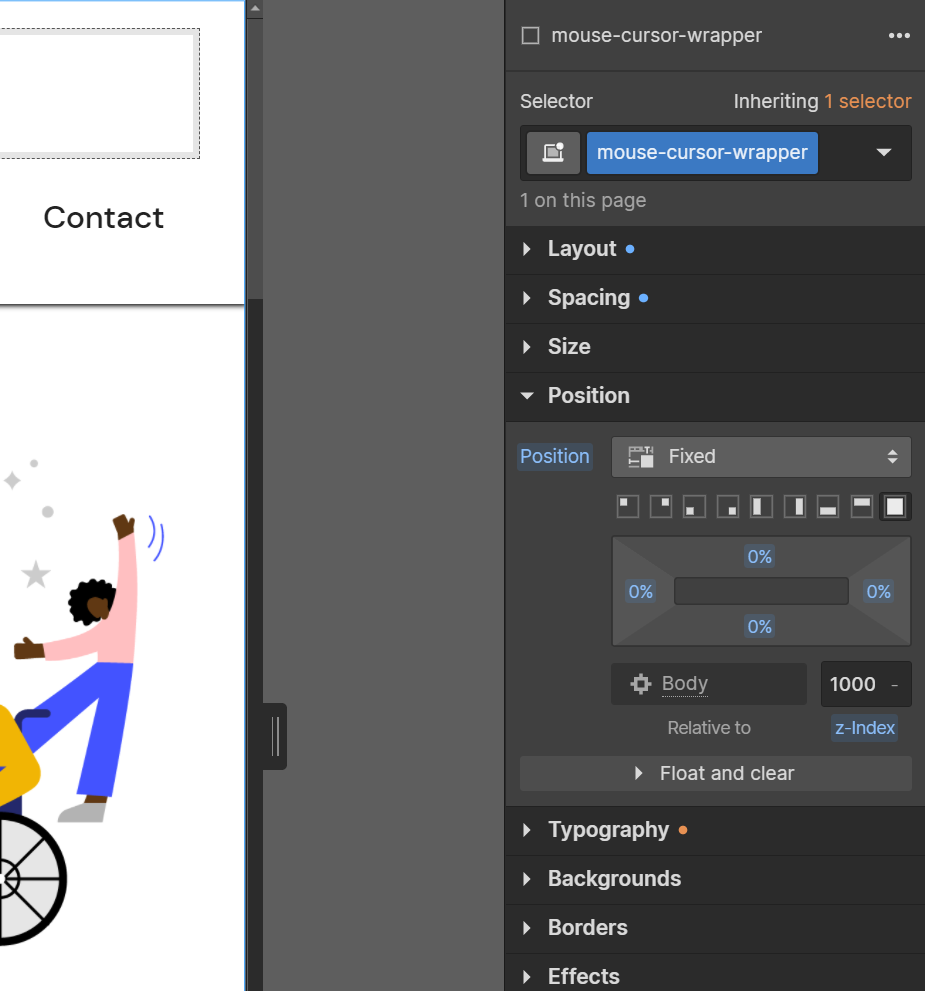
右のpositionからFixedを選びます。
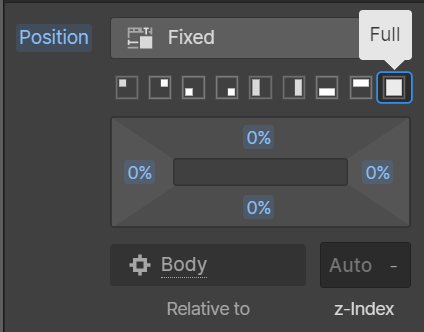
positionからFULLのアイコンを押します。
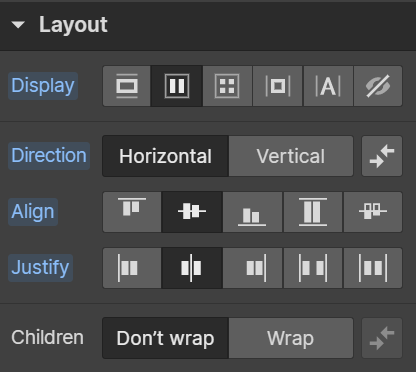
レイアウトから上記のアイコンを選択します。
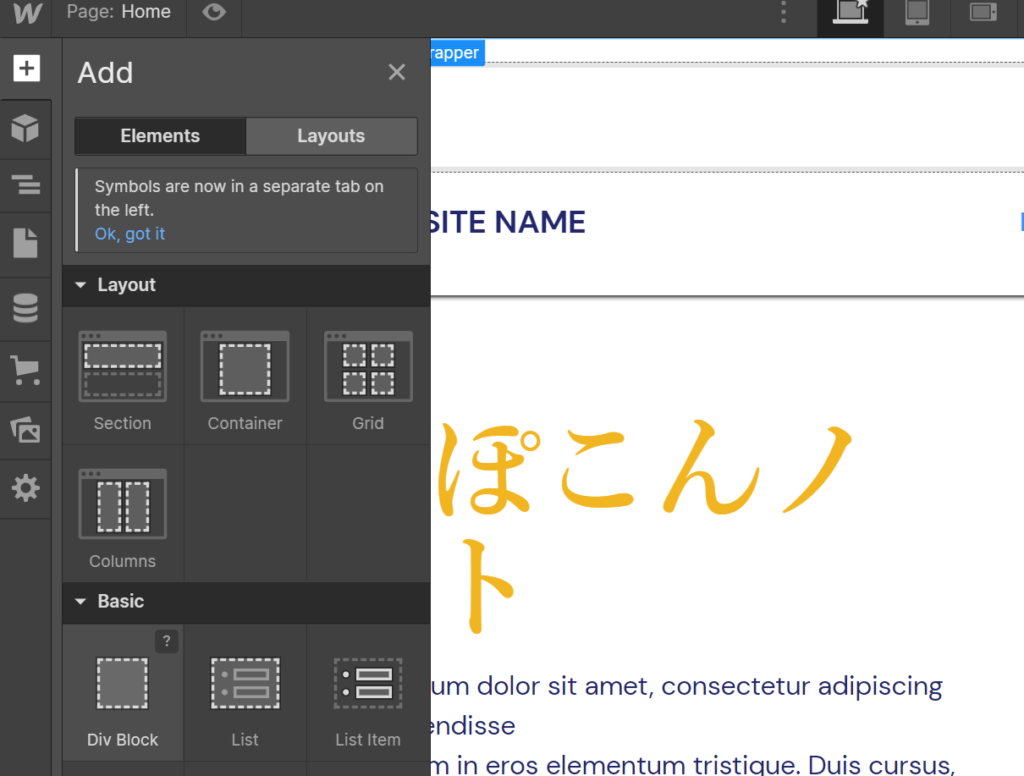
また新しくDIVを作ります。
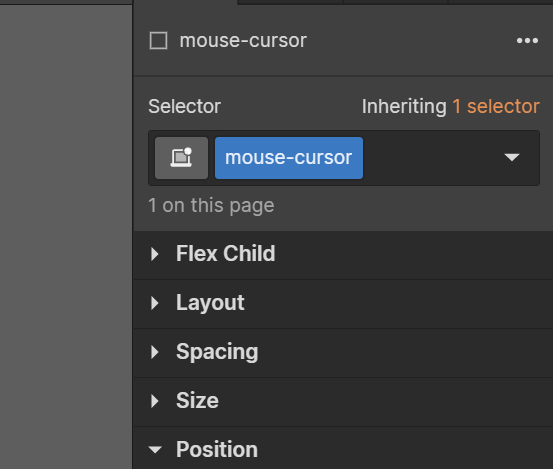
セレクターにmouse-cursorと入力します。(クラス名はなんでもOK)
最初に作ったdivの中に入れます。
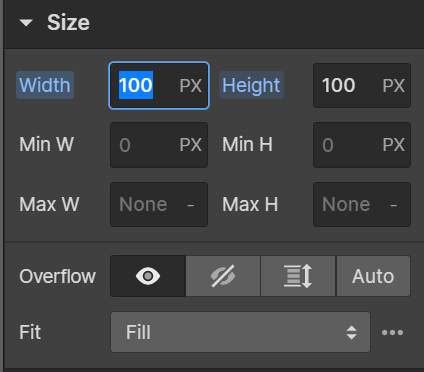
mouse-cursorのsizeを変更して、マウスカーソルの大きさを決めます。
自由に設定してください。
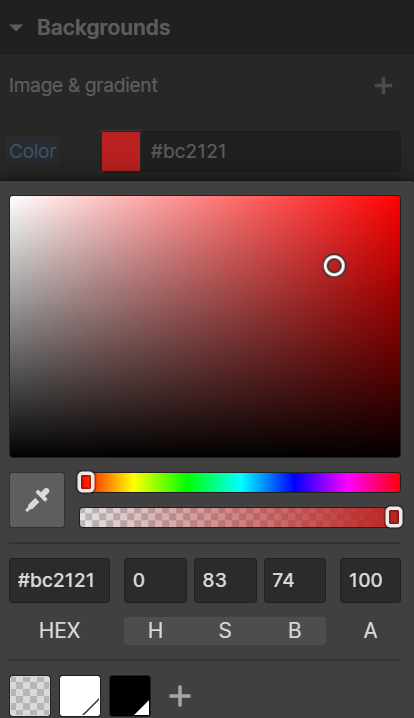
次にマウスカーソルの色を決めます。
今回はとりあえず赤にしました。
好きな色を選んでね。
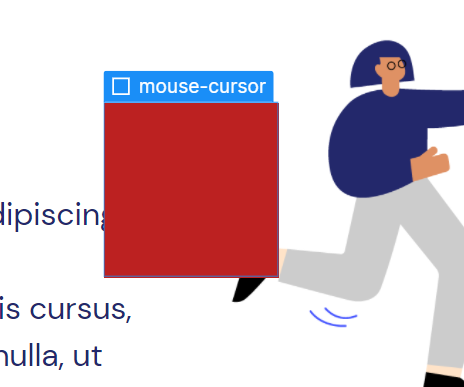
こんな感じになります。
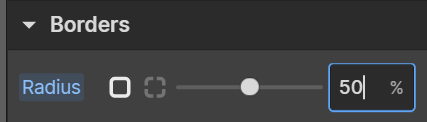
ボーダーのRadiusで丸みをつけるために50%にします。
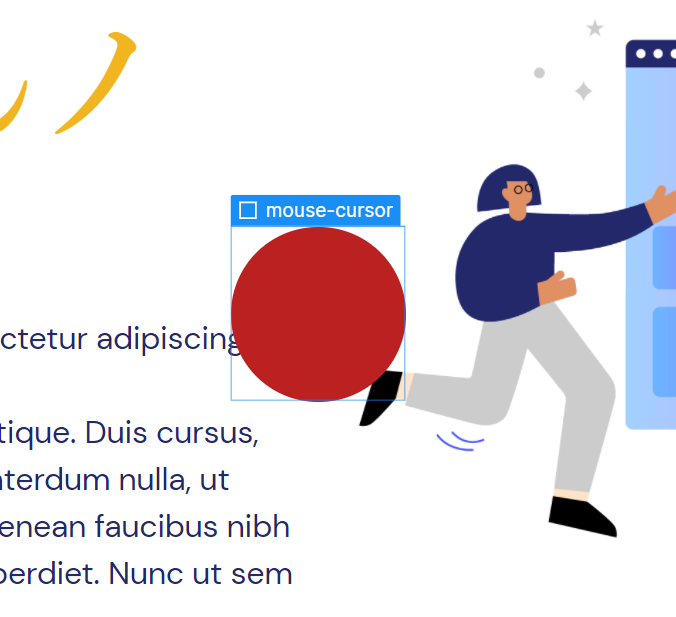
こんな感じなります。
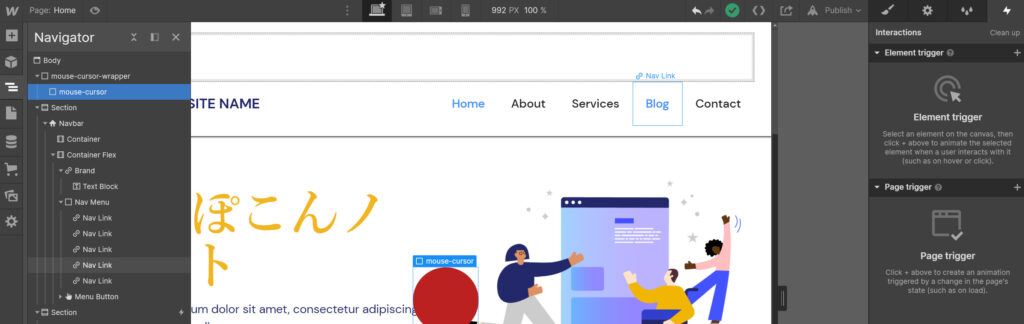
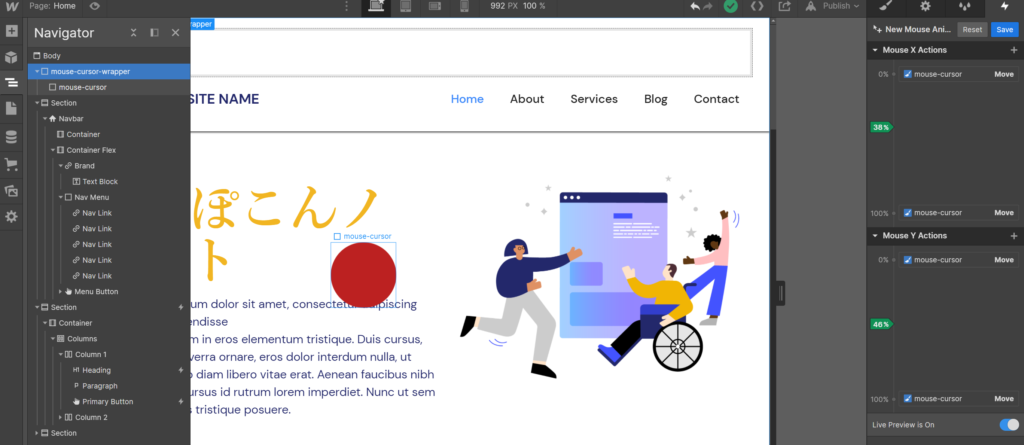
左のナビゲーターからmouse-cursorを選択した状態で、右上のinteractionsを押します。
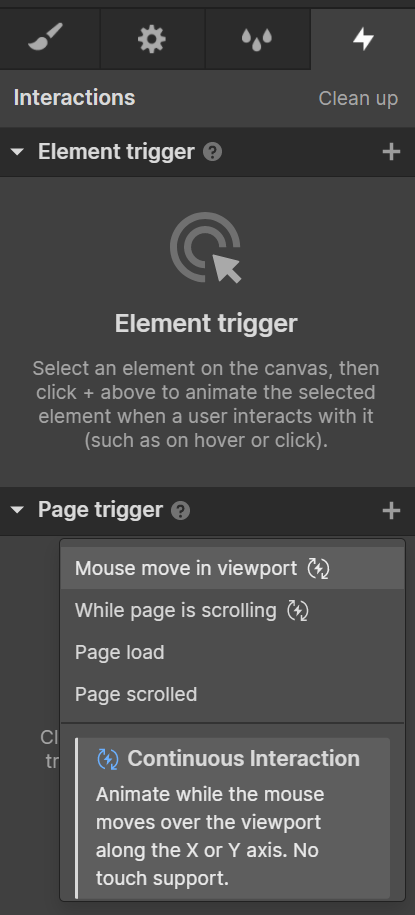
page trigger の Mouse move in wiewpoint を選択します。
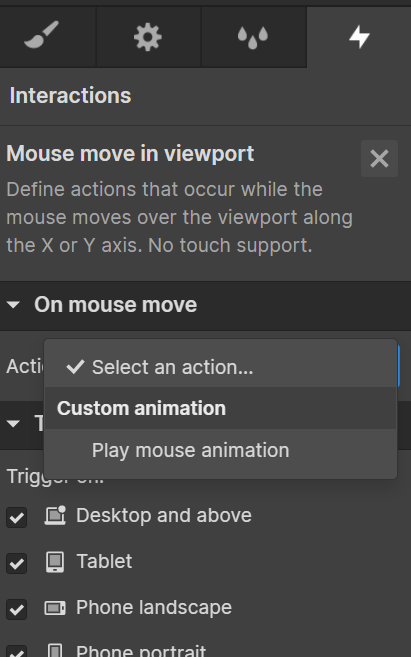
On mouse move のActionの選択肢から Play mouse animation を選択します。
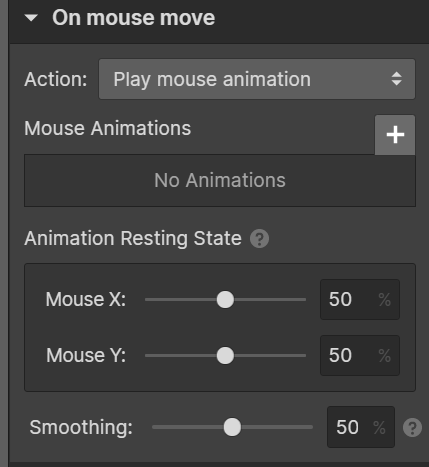
「+」ボタンを押します。
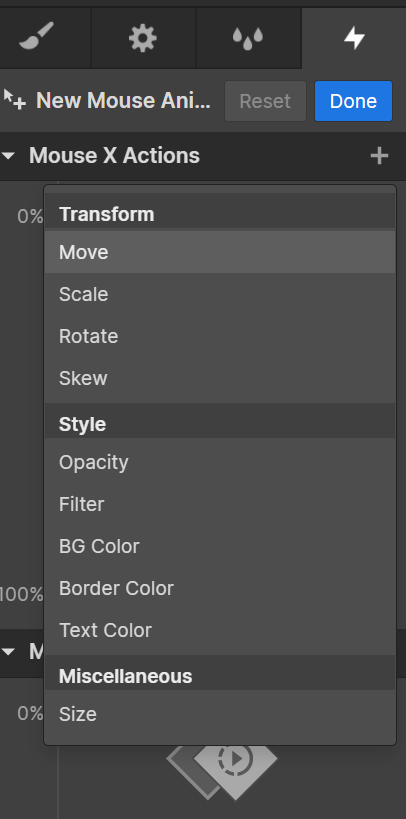
Mouse X Actionsから move を選択します。
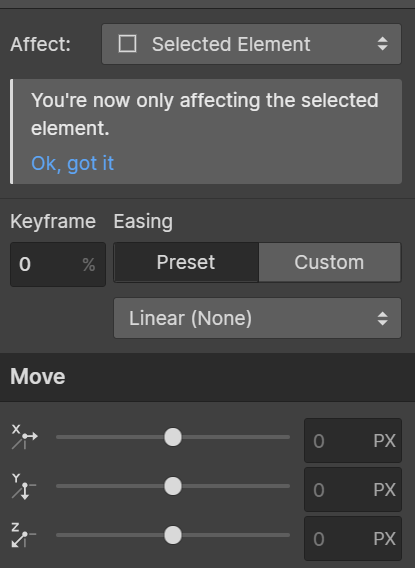
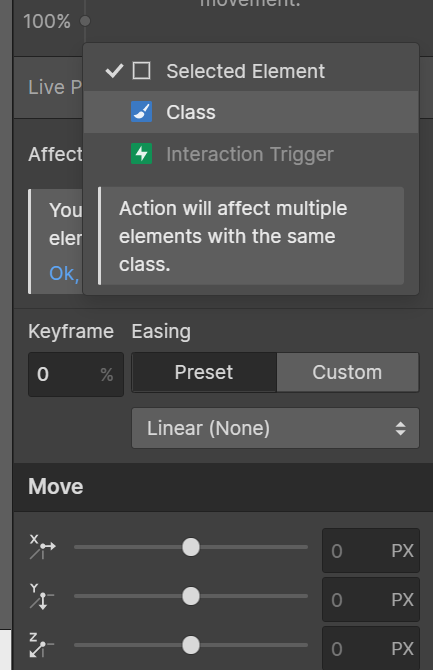
下の方のaffect から クラス名を指定します。(なくても動くかも。)
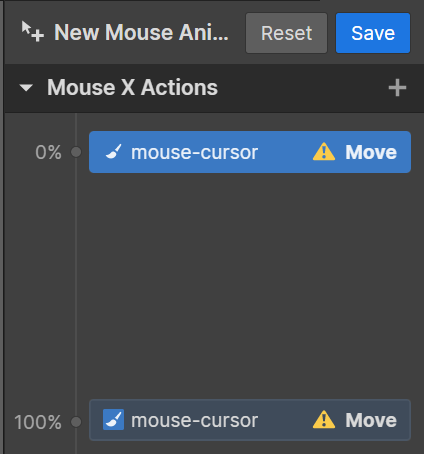
0%のmouse-cursorを選択します。
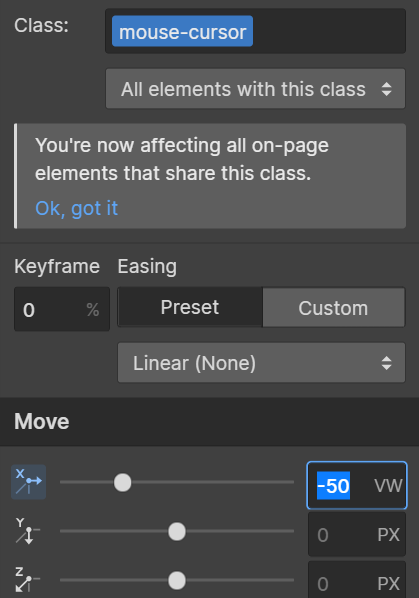
Moveに-50vw 直接入力します。
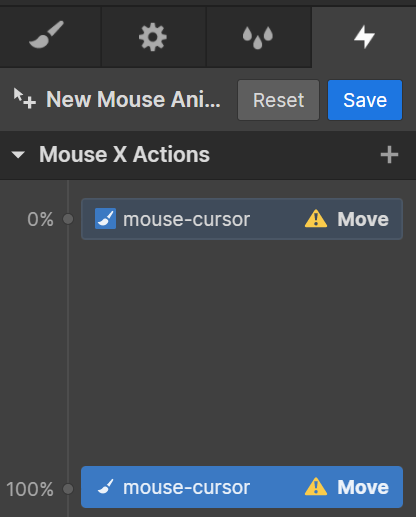
100%のmouse-cursorを選択します。
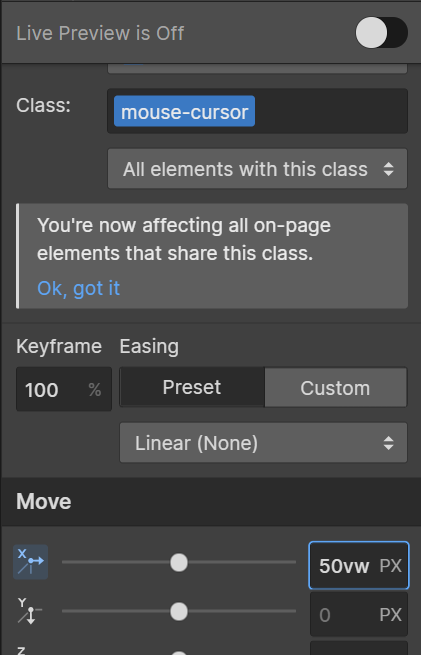
50vw を入力します。
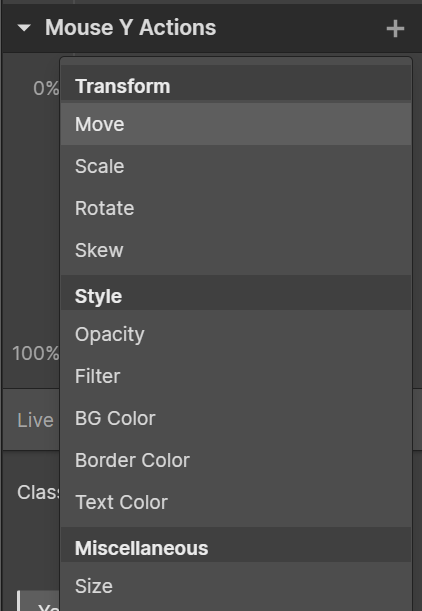
Mouse Y Actions を選択します。
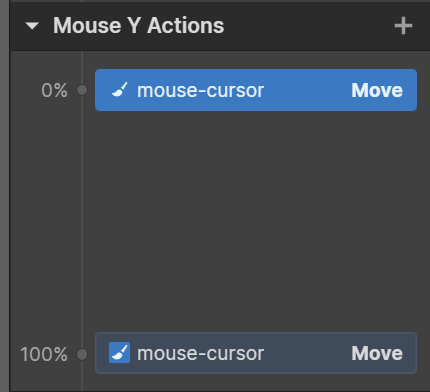
0%のmouse-cursorを選択します。
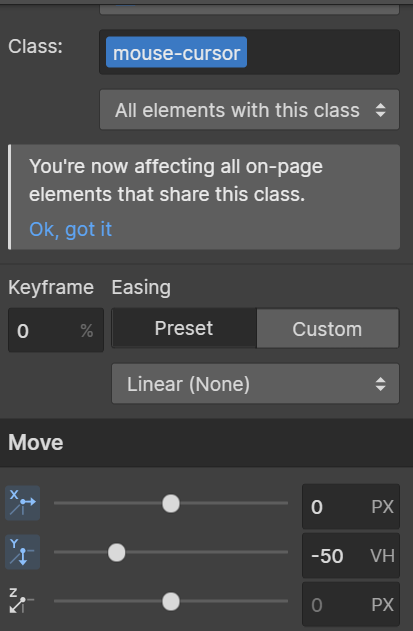
-50vhを入力します。
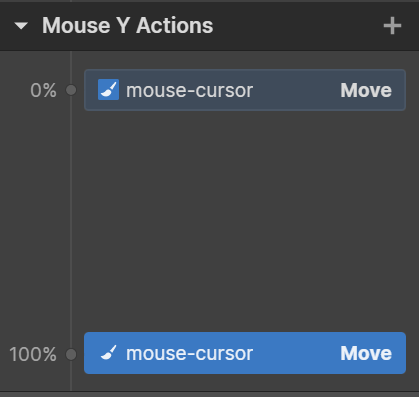
100%のmouse-cursorを選択します。
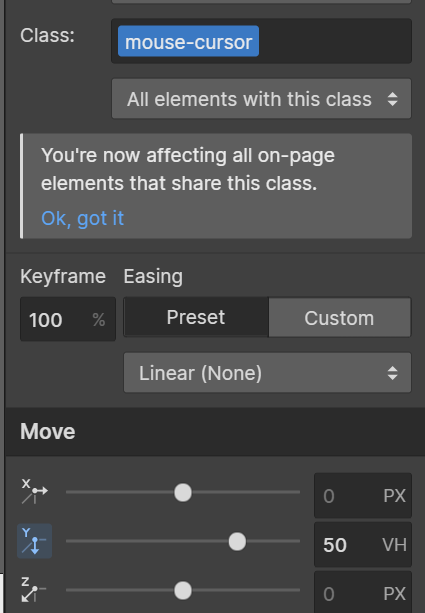
50vhを入力します。
プレビューを押して動作を確認します。
たぶん動いているはず。画面でカーソルが思い通りの位置にいないならなにか違っているかも。
確認が終わったらプレビューを解除します。
SAVEします。

公開します。
これで完了です!
お疲れ様でした!へぽこんは最後にアイコンのイメージを追加しています。
以下の感じにしました。
いろいろ触ったので若干ちがうかもしれませんが、できたやつは以下です。
https://hepocons-initial-project.webflow.io/
まとめ
webflowのノーコードだとレイアウトの配置次第でボタンやリンクが押せない場合がありますね。
調整で済む場合ならいいですが、もしかしたらノーコードだとできないパターンがあるかもしれません。
最後にこのページのマウスストーカーのコードです。
<div class="cursor"><span></span></div>
<div class="follower">
  <img src="https://syac.app/wp-content/uploads/2020/01/syac.app_.512.png..png" alt="">
  <span>ストーキングNOW!!</span>
</div>
<style>
  body {
    position: relative;
    cursor: none; /*もともとあるカーソルは見えなくなるようにする*/
  }

  .cursor,
  .follower {
    position: absolute;
    pointer-events: none;
  }

  .cursor {
    border-radius: 50%;
    /*background: linear-gradient(45deg, #bdb9ff, #67b8ff);*/
    position: absolute;
    top: 0;
    left: 0;
    z-index: 1000;
    width: 30px;
    height: 30px;
    cursor: none;
    posinter-events: none;
  }

  .follower {
    display: flex;
    justify-content: center;
    align-items: center;
    width: 80px;
    height: 80px;
    background-color: rgba(#fdfe00, .5);
    z-indes: 1001;
    transition: transform ease .1s;
    text-align: center;
    font-size: 16px;
    white-space: nowrap;
    img {
      width: 100%;
    }
    &.is-active {
      transform: scale(3);
    }
  }


.cursor.active {
  transform: scale(1);
}

.cursor span {
    display: block;
    width: 100%;
    height: 100%;
    background: rgb(252, 250, 239);
    background: linear-gradient(204deg, rgba(252, 250, 239, 1) 0%, rgba(240, 250, 252, 1) 21%, rgba(111, 223, 166, 1) 56%, rgba(253, 253, 247, 1) 98%);
    opacity: .6;
    border-radius: 50%;
    position: absolute;
    animation: elemspin 1.5s linear infinite;
  }

  .cursor span::after {
    content: '';
    display: block;
    width: 80%;
    height: 80%;
    background-color: #fff;
    position: absolute;
    left: 50%;
    top: 50%;
    transform: translate(-50%, -50%);
    border-radius: 50%;
  }
  @keyframes elemspin {
	0% {transform: rotate(0deg);}
	100% {transform: rotate(360deg);}
}

</style>
<script src="//cdnjs.cloudflare.com/ajax/libs/gsap/latest/TweenMax.min.js"></script>
<script>
jQuery(document).ready(function ($) { //WPおまじない
    var
      $cursor = $(".cursor"),
      cursor = $(".cursor"),
      follower = $(".follower"),
      cWidth = 20, //カーソルの大きさ
      fWidth = 40, //フォロワーの大きさ
      delay = 20, //数字を大きくするとフォロワーがより遅れて来る
      mouseX = 0, //マウスのX座標
      mouseY = 0, //マウスのY座標
      posX = 0, //フォロワーのX座標
      posY = 0; //フォロワーのX座標

    //カーソルの遅延アニメーション
    TweenMax.to({}, .003, {
      repeat: -1,
      onRepeat: function () {
        posX += (mouseX - posX) / delay;
        posY += (mouseY - posY) / delay;

        TweenMax.set(follower, {
          css: {
            left: posX - (fWidth / 2),
            top: posY - (fWidth / 2)
          }
        });

        TweenMax.set(cursor, {
          css: {
            left: mouseX - (cWidth / 2),
            top: mouseY - (cWidth / 2)
          }
        });
      }
    });

    //マウス座標を取得
    $(document).on("mousemove", function (e) {
      mouseX = e.pageX;
      mouseY = e.pageY;
    });
});
</script>
コピペして改良したのでいろいろごちゃごちゃになっています。
WordPressではカスタムHTMLのブロックにコードを書いてます。
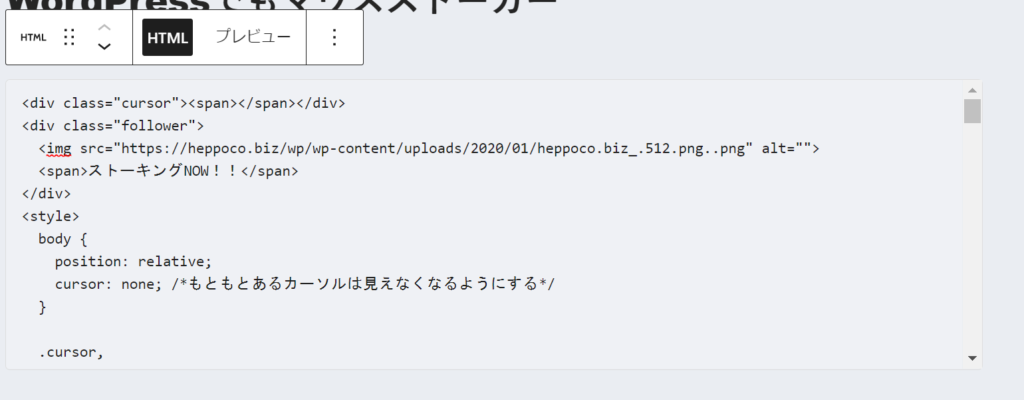
こんな感じでWordPressに貼り付けただけになります。
参考
https://www.evoworx.co.jp/blog/mouse-stoker-gsap/
https://www.useful-blog.info/mouse-stalker/
その他、ノーコードで作れるツール一覧も記載してますのでよかったらどうぞ。
