
今回はStable Diffusion を Google Colab 実行してみようと思います。
ローカル環境についてはこちらをご覧ください。
Google Colab は無料で利用できますので、Stable Diffusionを自分で試してみたいという方はやってみてください~。
Google Colabで環境構築
まず、https://colab.research.google.com/にアクセスします。
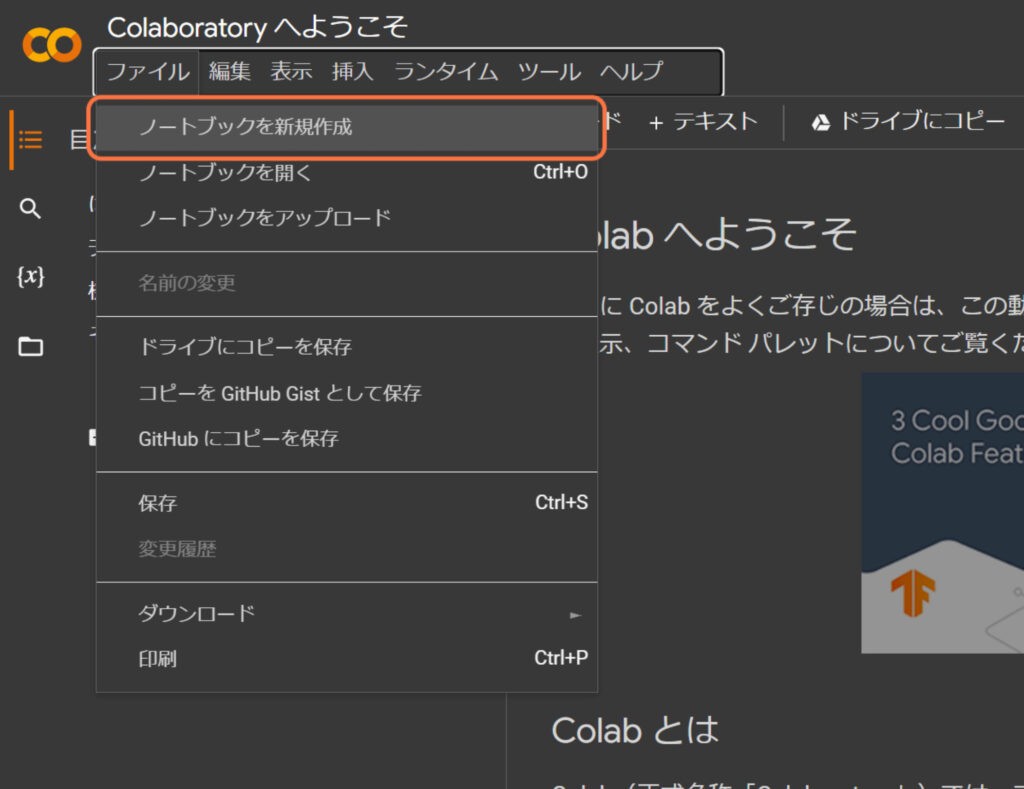
Google Colab で新規ノートブックを作成
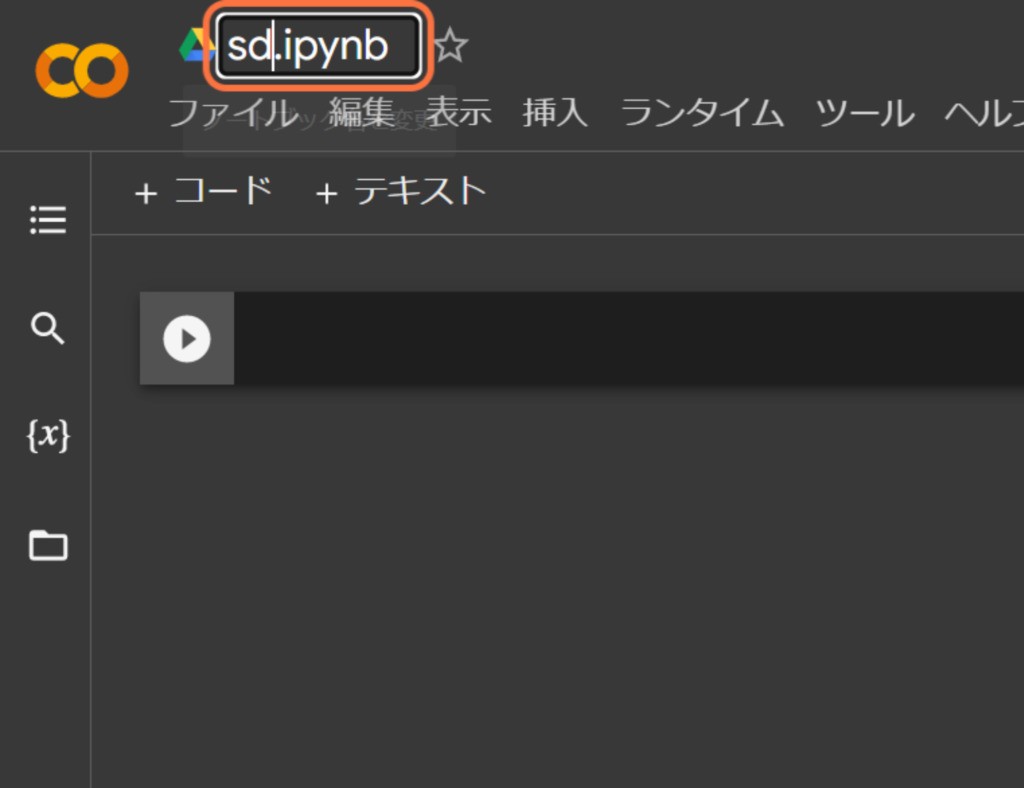
ファイル名を適当な名前に変更
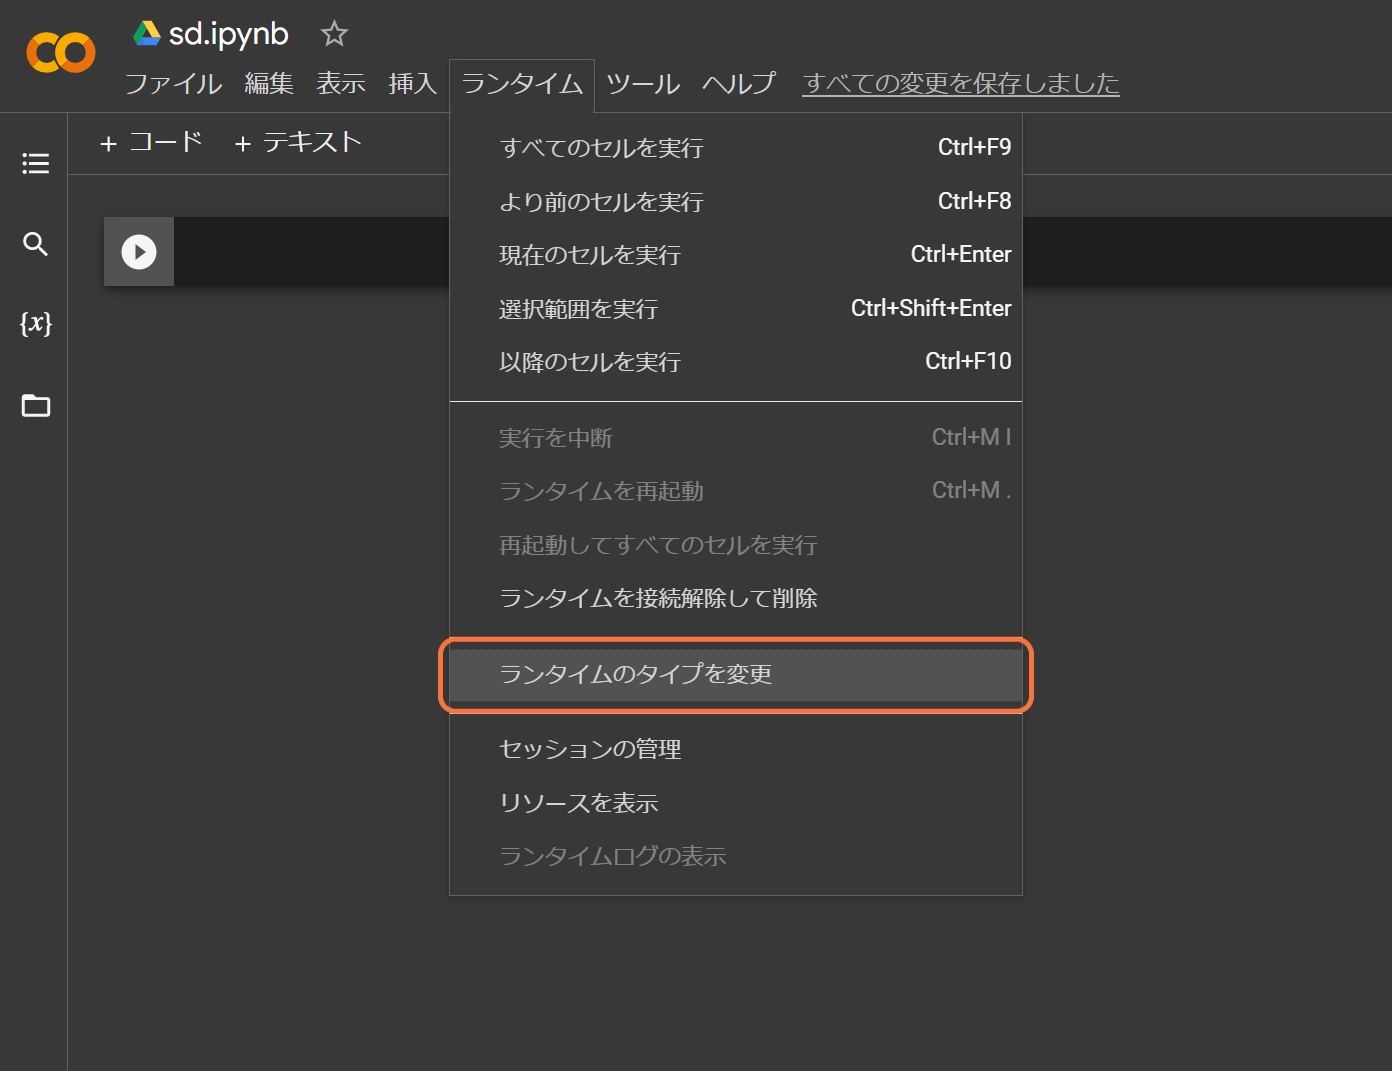
ランタイムのタイプを変更
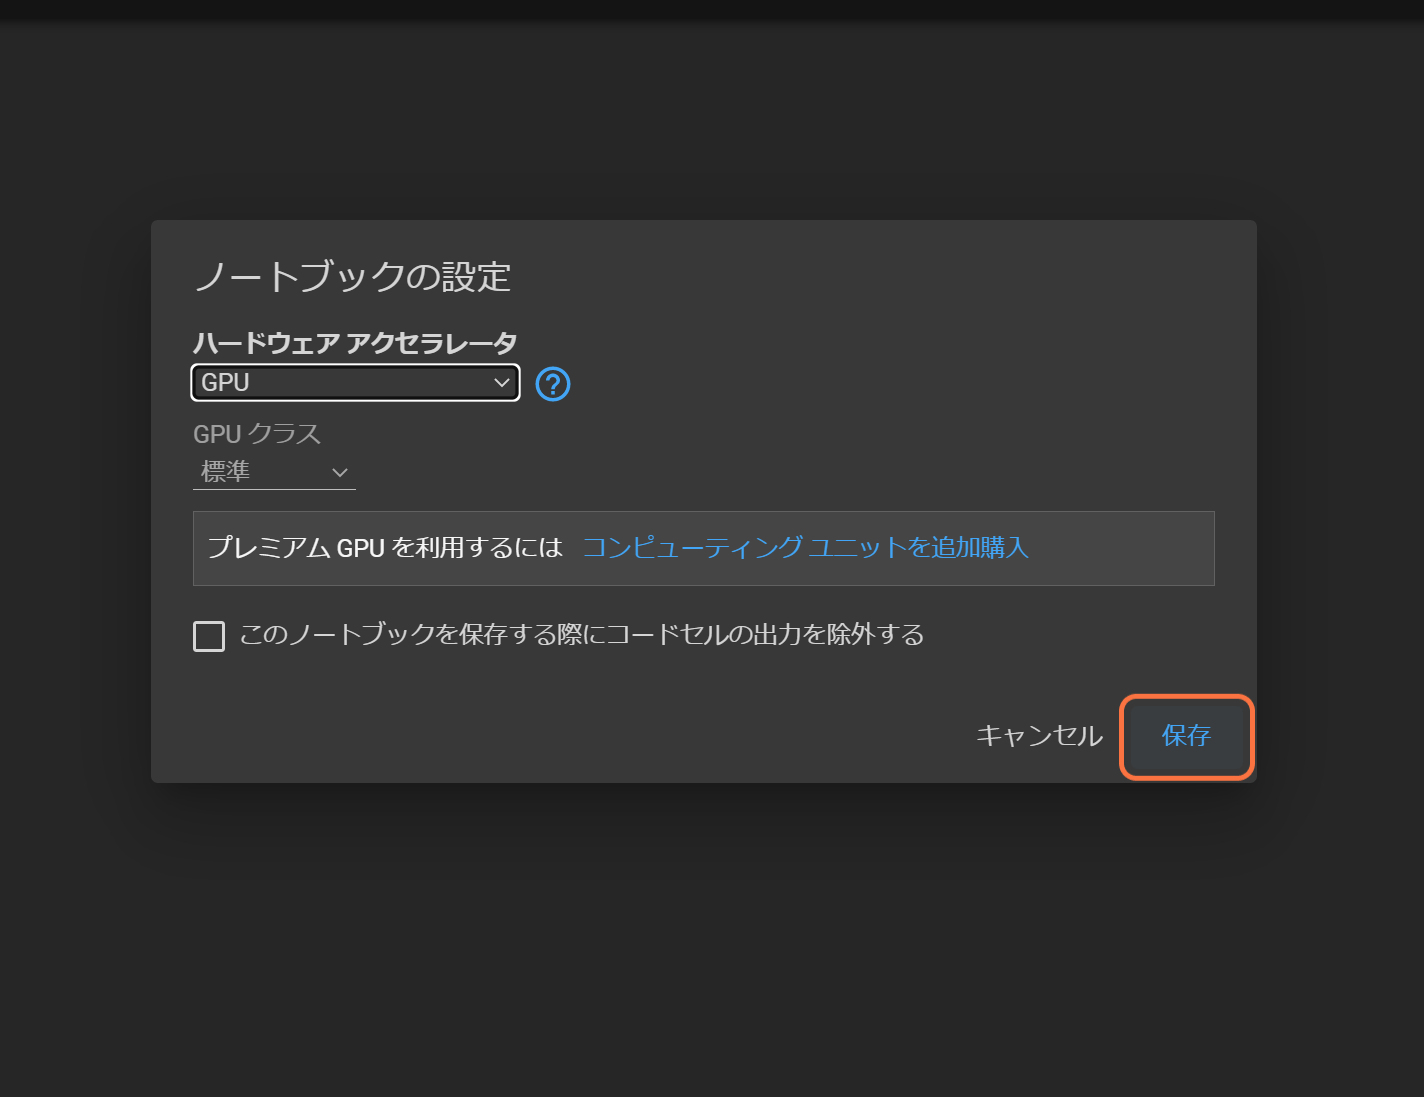
GPUを有効にして、保存します。
上記の画面で以下を実行します。
以下を1行づつ実行してみてください。
!git clone https://github.com/AUTOMATIC1111/stable-diffusion-webui
%cd /content/stable-diffusion-webui/models/Stable-diffusion
!wget https://huggingface.co/stabilityai/stable-diffusion-2-1/resolve/main/v2-1_768-ema-pruned.safetensors
%cd /content/stable-diffusion-webui
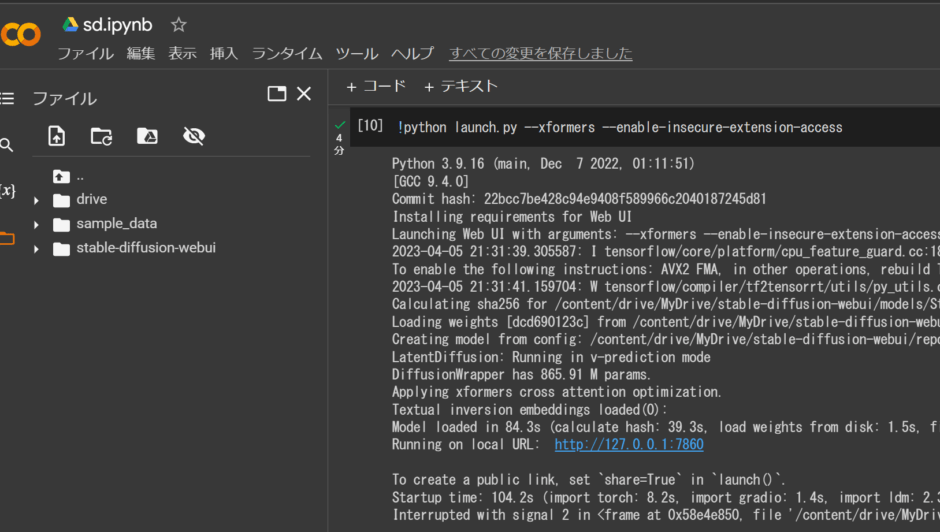
!python launch.py --share --xformers --enable-insecure-extension-access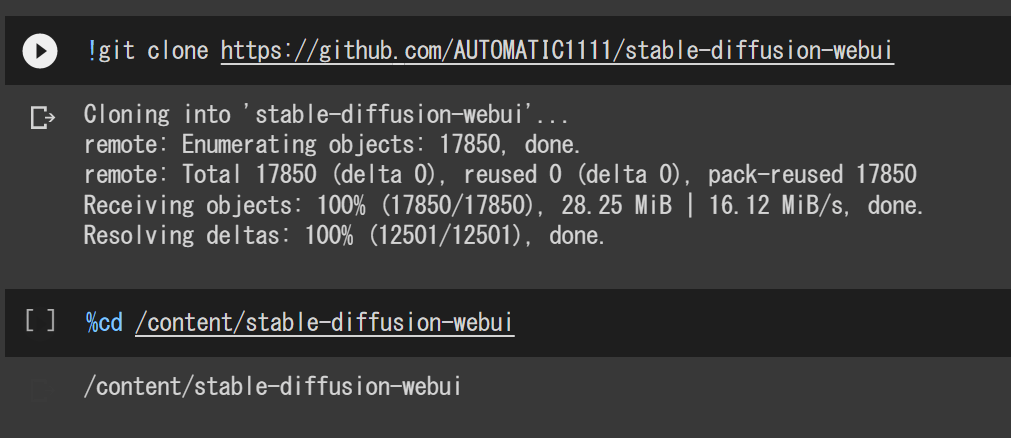
コマンドの実行には再生ボタンを押すか、SHIFT+ENTERで実行できます。
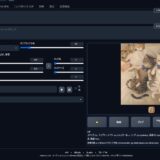
最後の!python launch.py –share –xformers –enable-insecure-extension-accessで以下のように起動すればOK!
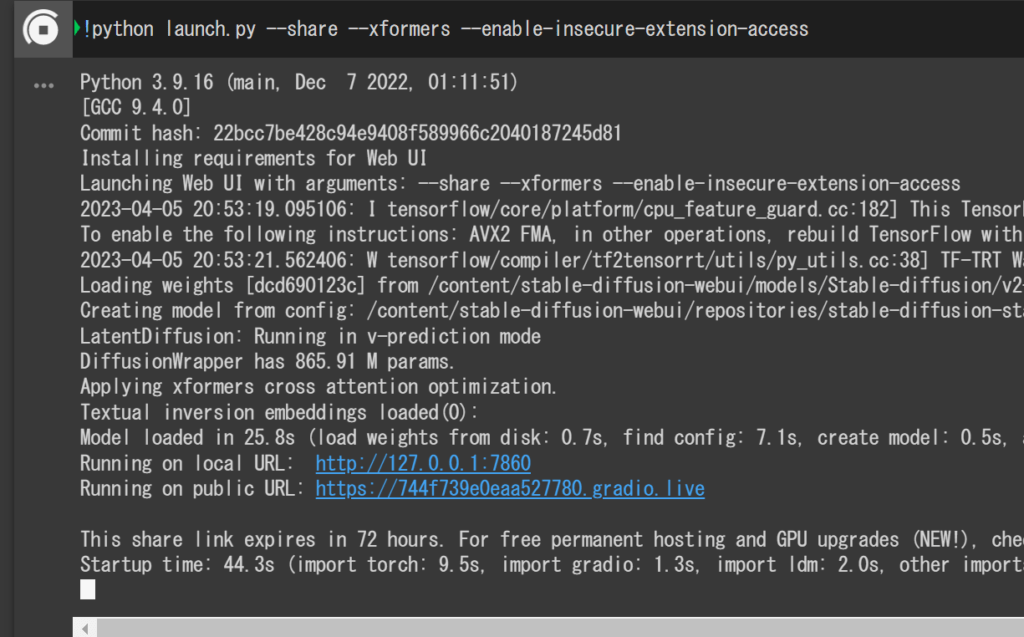
画面に表示され たRunning on public URL: https://XXXXXXXXXXXXXXXXXXXXXX.gradio.liveにアクセスすると起動します。
エラーについて
以下のエラーがでました。
RuntimeError: Detected that PyTorch and torchvision were compiled with different CUDA versions. PyTorch has CUDA Version=11.7 and torchvision has CUDA Version=11.8. Please reinstall the torchvision that matches your PyTorch install.
!pip install --upgrade Pillow
!echo "Y" | pip uninstall torchvision
!echo "Y" | pip install torchvision==1.9.0
蒸気を実行して、エラーを無視して(!python launch.py –xformers –enable-insecure-extension-access)すると一応起動しました。
Googleドライブに保存
colabはダウンロードしたデータが消えるようなので毎回前述したコマンドを実行することになります。
今までのを残したい場合はGoogleドライブに丸っとコピーしておきましょう。
from google.colab import drive
drive.mount('/content/drive')
上記コマンドを実行してGoogleドライブに接続
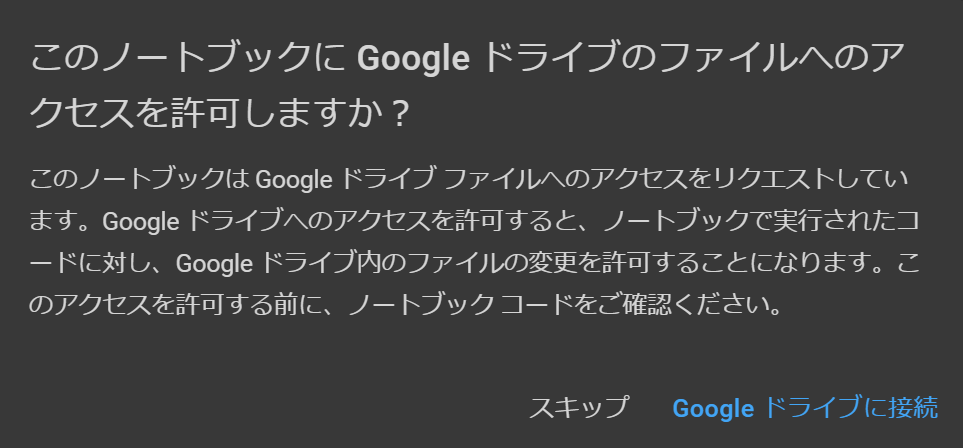
Googleドライブに接続をクリック
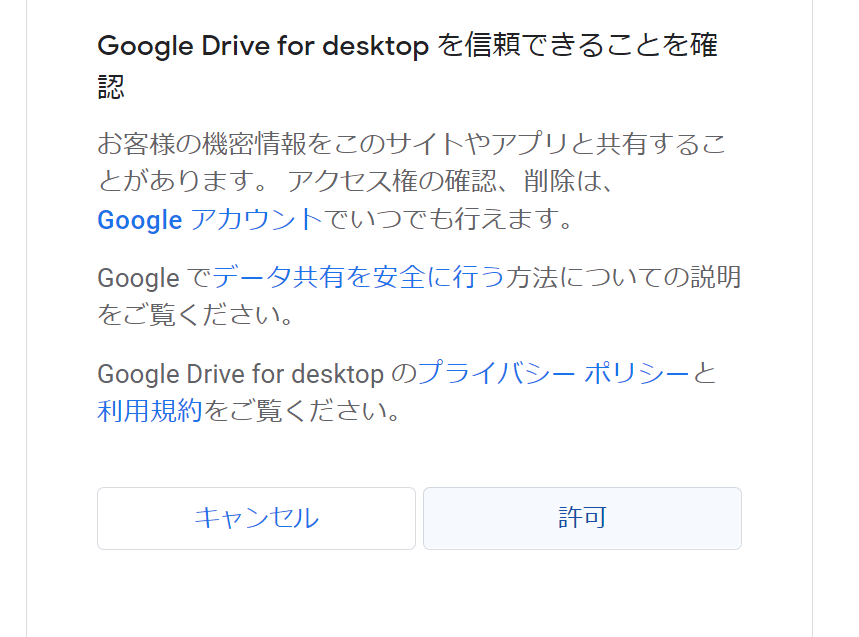
アカウントを選んで、許可します。
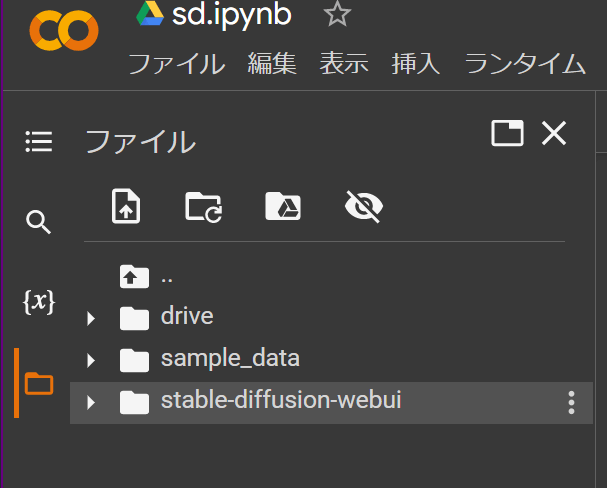
driveフォルダができました。
%cd /content
%cp -r stable-diffusion-webui/ drive/MyDrive/
上記を実行して作ったものをコピーします。
%cd /content/drive/MyDrive/stable-diffusion-webui
!python launch.py --share --xformers --enable-insecure-extension-access
これで、Googleドライブに移動したDtable Diffusionが実行できるようになります。
メモ
clabでのGPU使用には時間の制約があります。
GPUも毎回割り当てが変わるため、ものによっては動かいない可能性もあります。
stable diffusion web uiの起動オプションについては以下参照
https://github.com/AUTOMATIC1111/stable-diffusion-webui/wiki/